Sunday, May 3, 2015

Fantastically Fab Peanut Butter Swirl Brownies

    These ooey gooey brownies live up to their name.  A simple (yet delicious) chocolate brownie has been reborn as a peanut butter swirl brownie. It may sound fancy, but it is incredibly easy with tasty results. I am not sure how long you can store this wonderful dessert for. They were gobbled up before I could tell!
   I know I have recently posted a simple chocolate brownie recipe, but these were just too good to resist sharing! Find my regular brownie recipe here.
   I found this recipe on http://www.food.com/recipe/natural-peanut-butter-swirl-brownies-480089


INGREDIENTS

  • 1/2 cup melted butter
  • 1/2 cup brown sugar
  • 1/2 cup sugar
  • 2 eggs
  • 1 teaspoon vanilla extract
  • 1/2 flour
  • 1/3 cup unsweetened cocoa powder
  • 1/4 baking powder
  • 1/4 teaspoon salt
  • 4-6 teaspoons natural creamy peanut butter
  • Some of melted chocolate chips (if you want a rich brownie)
DIRECTIONS
  1. Preheat oven to 350 degrees.
  2. Combine both sugars and the melted butter
  3. Add vanilla and eggs. Stir.
  4. Mix in baking powder, flour, salt and cocoa powder.
  5. Stir in melted chocolate and make sure everything is combined in the batter
  6. Pour batter into a 11x7 inch pan. You could use some thing a little bigger or smaller and be fine.
  7. Drop teaspoons of peanut butter on the batter and swirl in different shapes evenlt over the batter using a butter knife. Make sure not to over mix or the swirling effect will not come through.
  8. Bake for 20-30 minutes and allow to cool fully in the pan.
  9. Slice, eat, enjoy!


I hoped everyone enjoyed this post. These brownies are truly amazing!~Anna


DIY Dreamsicle Sugar Scrub

   Why buy an expensive scrub that likely is not good for your skin when you can make your own with healthy ingredients you probably have in your own house? This is a great gift and comes in adorable packaging. Just be careful when using it-typically I would use a glass jar and since this scrub is usually used in the shower, it could easily be slippery and break. I recommend keeping it right outside your shower. Without further ado, let's go DIY!

   You only need four ingredients. First, sugar. You can use salt, but many people feel salt is too coarse for their skin. For the wonderful dreamsicle scent, you need an orange and vanilla extract. Lastly, to bind the scrub together, you need some kind of oil. I have three suggestions: melted coconut oil, grape seed oil, or olive oil. Make sure that if you are using olive oil, to make sure it is NOT the extra virgin kind. This will give the scrub a strong, alarming (and admittedly gross smell)

   There is no real recipe. It all depends on the consistency and scent you prefer. First, just pour some of your sugar into a medium sized bowl.Next, in small increments add the oil.Combine the mixture and add orange juice and zest. Finally pour in a some vanilla extract. If your are making this for someone, i recommend you use lots of orange zest because it gives the scrub a fresh look and feel. Play around with your ingredients until you get what you want.

   Now for the packaging. Take a look at the picture below.


   Did you see the popsicle stick? Did you get the dreamsicle connection? So, as you can see, the popsicle stick pokes through the lid. It doubles as a tool to scoop out the scrub (so your fingers don't get sticky) or you can use it to stir the scrub. On the jar lid, trace the shape of the stick and cut it out with some kind of drill or knife. Then just poke the popsicle stick through the lid and scoop the scrub into the jar. Would ya look at that? You just made some DIY Dreamsicle Sugar Scrub!

I hope everyone enjoyed this post and found it helpful! ~Anna

Sunday, March 29, 2015

Meet The Pets: Fitzgerald

Meet The Pets: Fitz

    Fitzgerald is a sassy six year old tabby cat. We adopted him from a Chicago shelter when he was one. He has grown from sick and skimpy to a sweet and regal cat.

How did we get Fitz?

   As a Christmas present, my parents decided to get a cat. They looked at the Anti-Cruelty Society. Fitz and his brother had been sick and had just been put up for adoption. My parents listed what kind of personality the cat should have- friendly, okay with dogs and other cats, and likes to be pet. Fitz (called Logan at the time) met all their expectations. He climbed into my dad's lap and my mom said, "We'll take him!"
                                                                     FACTS ABOUT FITZ
~loves to be brushed
~sometimes likes uncomfortable places more than comfortable ones
~likes cheese


Thanks for reading today's post!

Tuesday, March 10, 2015

Meet The Pets: River


   River is a brown, eleven year old Chesapeake Bay Retriever. He was born on August 9th in 2003. He is even older than me! River is not a big fan of toys, but he loves chasing tennis balls in the yard. Three adjectives I would describe him as are sweet, gentle and loyal. 
   One of River's "tricks" is called Hoover, after the vacuum cleaner company. Since River gobbles up any food like a vacuum, he will search the floor for morsels if we say "Hoover".
                                                                 FACTS ABOUT RIVER
~He hates riding in the car
~One of his nicknames is Cedric (don't ask!)
~He has a very deep bark

Thanks for reading my post today! Look below for a few pictures of our beloved dog!


Sunday, March 8, 2015

Five Things To Do With Washi Tape

In case you didn't know, washi tape is a Japanese decorative paper tape that is easily removable. It comes in many colors and patterns. You can buy it online, and most likely at your local craft store.

1: Washi Coordinate your desk supplies
Wrap the tape around anything...

Like pencil holders

I love the crossing strips of tape on the pencil holder! NOTE: Fancy looking glasses like the plastic one I purchased at Target spice up your office/desk supplies.

Or your markers
You will always recognize your markers! You can do this, of course, with pens, pencils etc

And don't leave your other supplies out too! The sky's the limit!
Jars and have been washified!


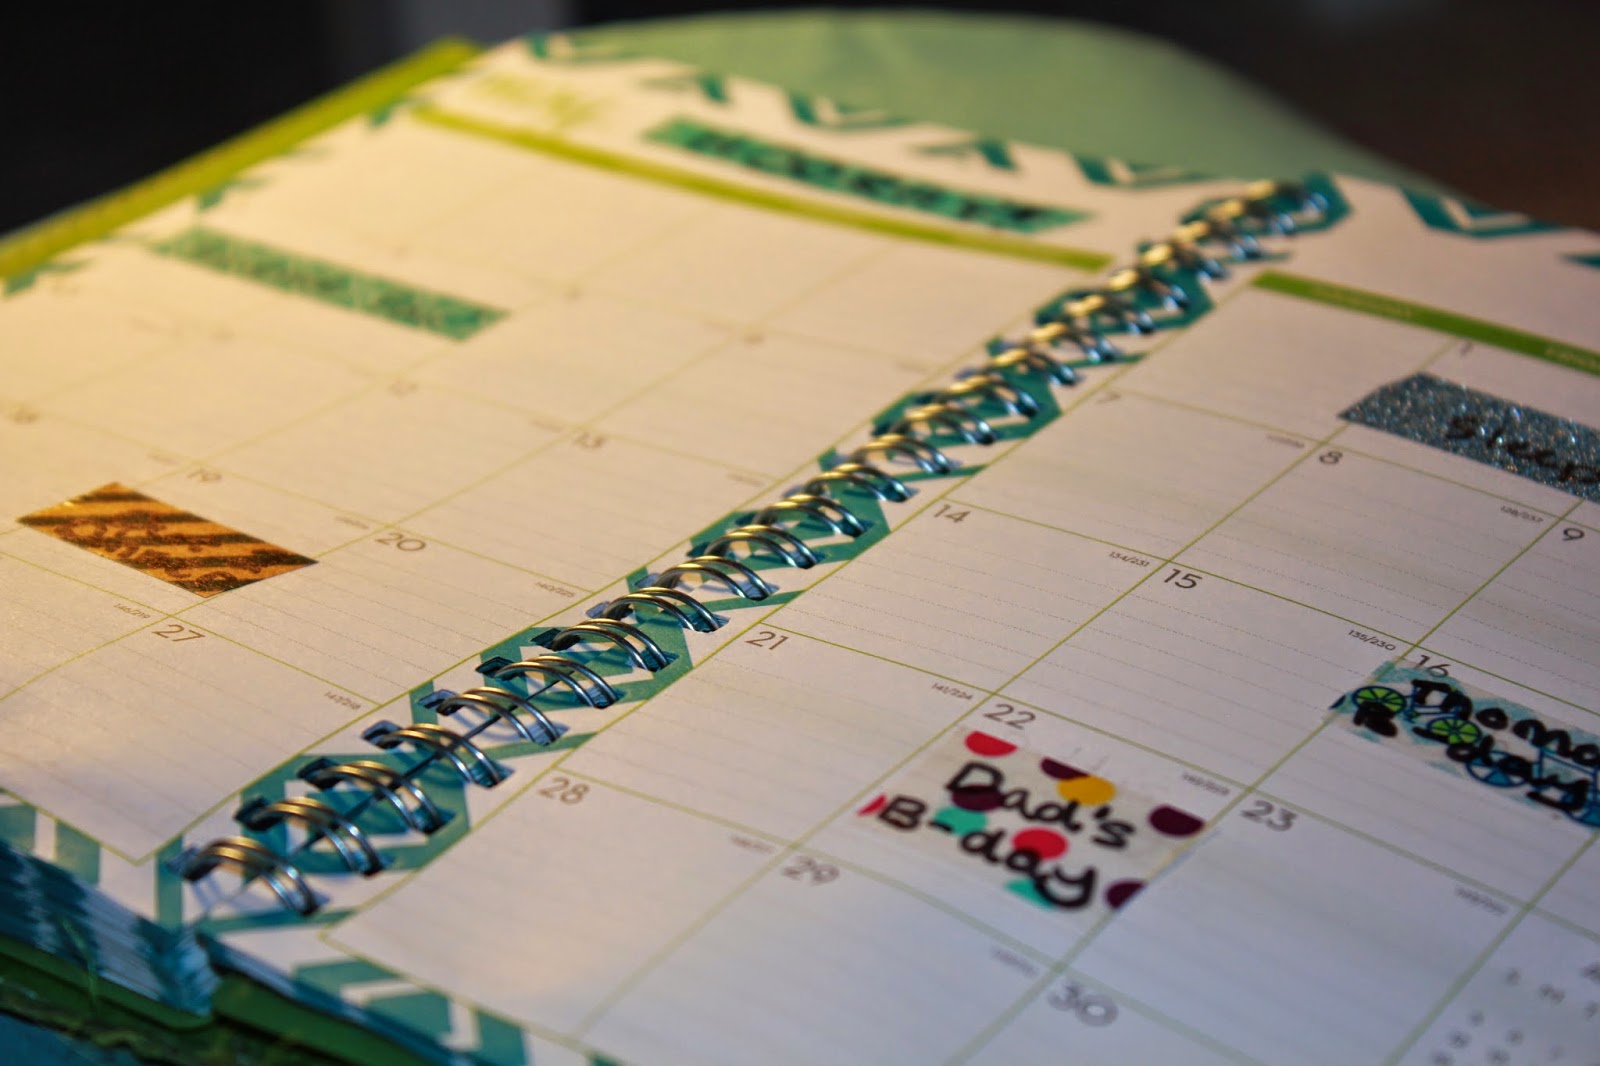
2: If you are like me, never actually look at your planner or calendar. Well, here's the solution!
Just add washi tape wherever you want!


3: Make adorable flags that you can use for sandwiches, cupcakes, etc


Dress up lightswitches


Or doorknobs!
Just lay strips of tape across the doorknob and trim the excess. You can fold the excess tape over the edge, but trimming it creates a more clean look.


Thank you so much for reading my post today! I hope to do more craft roundups in the future. If you have any questions, ask me in the comment section. ~Anna

Best Brownies Ever

I honestly think these are hands down the best brownies ever. They're not cakey, no a pile of mush, but right in between. If you are obsessed with chocolate like me, I think you'll enjoy these brownies. Make sure to scroll to the bottom of the page to see the easy glaze recipe!

 This recipe was adapted from allrecipes.com titled Mmm-Mmm Better Brownies


Makes 1 9x9 in pan

                                                                 INGREDIENTS

  • 1/2 cup vegetable oil
  • 1 teaspoon vanilla extract
  • 1 cup white sugar 
  • 2 eggs
  • 1/2 cup all purpose flour
  • 1/3 cup unsweetened cocoa powder
  • 1/4 teaspoon baking powder
  • 1/4 teaspoon salt
  • milk chocolate chips to taste
                                                                         DIRECTIONS
  1. Preheat oven to 350 degrees F (175 degrees C) Grease a 9 x 9 inch baking pan.
  2. In medium bowl, mix together oil, sugar and vanilla. Beat in eggs. In a separate bowl, combine flour, cocoa, baking powder and salt. Stir egg mixture into dry ingredients (or vice versa) until well blended. Stir in chocolate chips.
  3. Bake for 20-25 minutes (I did 23 minutes and they were perfect). Let cool fully before cutting and serving.
                                                                            BROWNIE GLAZE
This simple glaze is rich and perfect to complete your brownies! 
  • milk chocolate chips
  • half and half
In a microwave safe bowl, microwave the chocolate chips in short bursts until melted. Add splashes of half and half until the glaze is the consistency you want it. Spread on top of cooled brownies.

NOTES: The chocolate chips are totally optional, but I added them because I thought they produced a burst of chocolatey flavor that was otherwise missing. When your brownies come out of the oven, insert a toothpick to three different places of the brownies. if the toothpick comes out clean, they are baked. If not, slide those babies back in the oven for a minute or two longer! Do not be surprised if your brownies feel delicate and mushy. They will set after cooling. Enjoy!